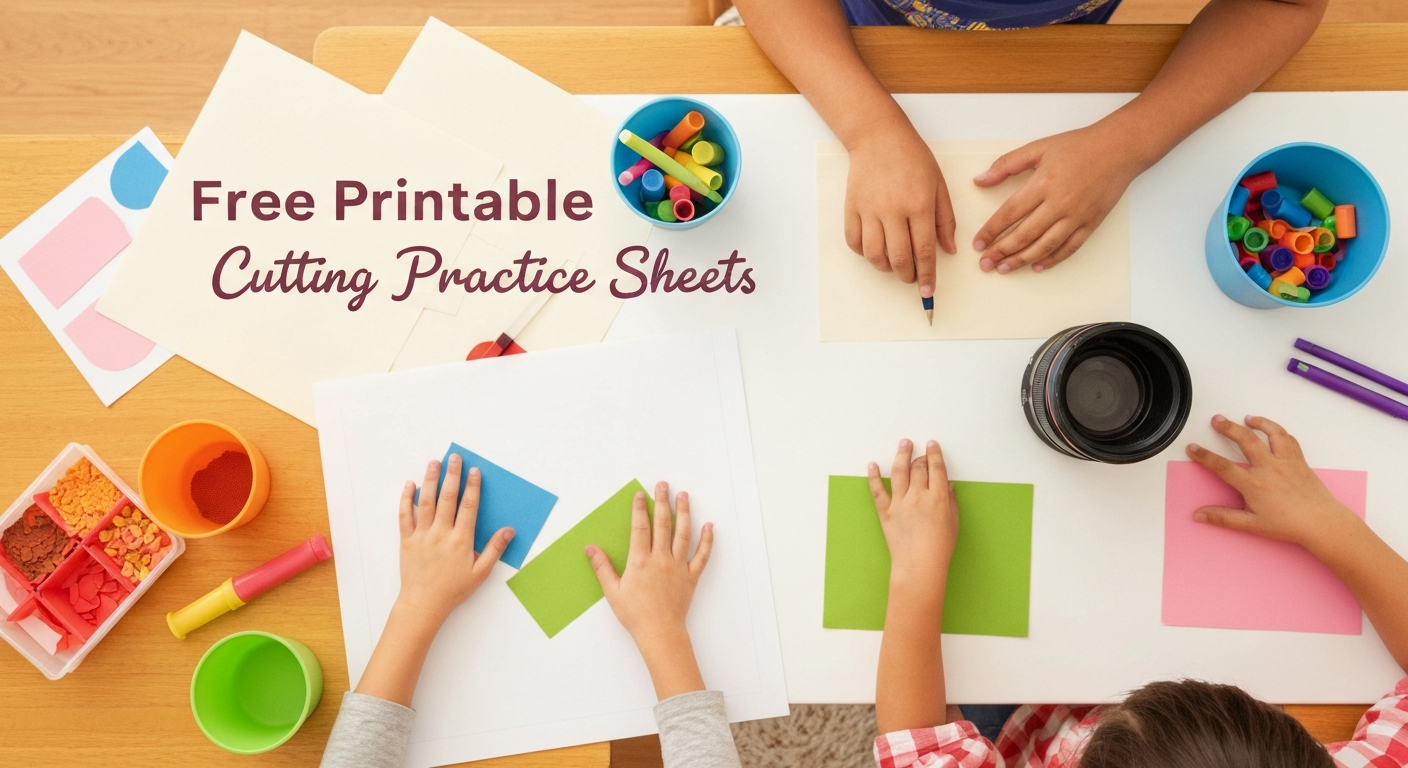
Free Printable Cutting Practice Sheets
Master scissor skills with your child by choosing the correct scissors and following a progressive practice sequence. You'll learn stages from basic snipping to cutting straight lines, building crucial fine motor coordination effectively.
- Select scissors that fit your child's hand and developmental stage for optimal success.
- Begin with Stage 1: Snipping, using narrow paper strips to teach the open-close motion.
- Advance to Stage 2: Fringing, practicing repeated snips along an edge with wider paper.
- Move to Stage 3: Straight Lines, guiding your child to cut across a full sheet on bold lines.
- Implement the progressive cutting sequence to build skills gradually and avoid bad habits.
The Day I Stopped Dreading Scissor Time
Confession: for my first year of teaching preschool, I avoided scissor activities like the plague. Twenty three-year-olds with sharp objects? Hair getting cut, paper confetti everywhere, at least one child holding the scissors upside down and looking at me for help? No thank you. Then a veteran teacher down the hall showed me her system—progressive cutting practice sheets that started laughably simple and built up gradually—and everything changed. Within six weeks, my students went from unable to open the scissors to cutting smooth curves. The secret wasn’t better scissors or more supervision. It was the right practice sheets in the right order.
Cutting with scissors is one of the most complex fine motor tasks we ask young children to perform. It requires bilateral coordination (one hand holds the paper, the other operates the scissors), hand strength, visual-motor integration, and the ability to follow a line. No wonder it’s hard. But with proper progression and plenty of practice, virtually every child can develop confident, competent cutting skills. Here’s how to make it happen.
Choosing the Right Scissors (It Matters More Than You Think)
Before a single cut is made, the scissors must match the child. Wrong scissors create frustration that no amount of practice can overcome.
Types of Scissors by Developmental Stage
- Loop scissors (squeeze scissors) — these require only a squeezing motion and spring back open automatically; perfect for children just learning the open-close motion or those with low hand strength; brands like Fiskars make excellent versions
- Spring-loaded training scissors — look like regular scissors but have a spring mechanism that opens them back up after each cut; reduce fatigue and let children focus on the closing motion
- Standard blunt-tip safety scissors — the classic preschool scissor; appropriate once a child can consistently open and close with controlled motion
- Left-handed scissors — essential for left-handed children; standard scissors obscure the cutting line when used in the left hand and create frustration that looks like inability but is actually a tool problem
Fit Check
The scissors should fit the child’s hand comfortably: thumb in the small hole, middle finger in the large hole, index finger resting along the outside for stability. If the holes are too big, the scissors flop around. If too small, the child can’t open them fully. Many cutting frustrations disappear instantly when you switch to properly sized scissors.
The Progressive Cutting Practice Sequence
This is the sequence I developed over years of teaching, and it works consistently. Each stage builds on the one before, and rushing through stages leads to sloppy habits that are hard to correct later.
Stage 1: Snipping (Ages 2-3)
The goal is simply learning to open and close the scissors with one controlled motion. Provide narrow strips of paper (about one inch wide) and have children make single snips across the strip. Each snip cuts off a small piece—instant gratification. Print strips with thick lines where each snip should go. Start with plain construction paper, which is stiffer than copy paper and easier to hold while cutting. The paper strips should be short enough that one snip goes all the way across.
Stage 2: Fringing (Ages 2.5-3.5)
Use wider strips of paper (two to three inches) and have children make multiple snips along one edge, creating a fringe. This practices repeated snipping with slight repositioning between cuts. Print practice sheets with thick lines perpendicular to the edge showing where each cut should stop. The fringe strips can become hair on paper plate faces, grass on a landscape, or manes on paper horses—turning the practice into a craft project.
Stage 3: Straight Lines (Ages 3-4)
Now children begin cutting across the full width of a sheet along a printed straight line. Start with thick, bold lines and wide spacing. Progress to thinner lines with less space between them. The key skill here is continuous cutting—keeping the scissors moving forward in a series of connected open-close motions rather than making isolated snips. Print sheets with thick horizontal lines and decorative endpoints (a dog on one side, a bone on the other—“cut along the path to help the dog reach his bone”).
Stage 4: Curved Lines (Ages 3.5-4.5)
Gentle curves require children to rotate the paper with their holding hand while the cutting hand keeps moving forward. This bilateral coordination is the breakthrough skill. Start with wide, gentle curves and progress to tighter ones. Wavy lines, S-curves, and spiral cuts are excellent practice. Print sheets with progressively challenging curved paths—wide gentle waves, then tighter zigzags, then spiraling circles.
Stage 5: Shapes (Ages 4-5)
Cutting out shapes combines straight lines, curves, and corners. Start with large circles (surprisingly, circles are easier than squares because there are no sharp corners requiring stop-and-turn movements). Progress to squares, triangles, and stars. Print shapes with thick outlines and provide sheets with multiple sizes of the same shape for graduated practice.
Stage 6: Complex Shapes and Figures (Ages 5-6)
Once basic shapes are mastered, children can cut out irregular shapes, pictures with detailed outlines, and craft project pieces. Practice sheets at this level might include cutting out a butterfly (curved wings), a house (straight walls, triangle roof), or their own name in large block letters.
Making Cutting Practice Fun (Not a Chore)
The progressive sequence works, but only if children actually want to do it. Here are strategies that keep motivation high.
Themed Cutting Strips
Instead of plain lines, print strips decorated with themes: road lines for vehicle-lovers (cut along the highway), flower stems for garden fans (snip the flowers apart), train tracks (cut between the rails). When the cutting practice has a narrative context, children engage much longer and more enthusiastically.
Cut-and-Create Projects
Design sheets where the cut pieces become parts of a project. Cut strips become the legs of a paper caterpillar. Cut circles become scoops on an ice cream cone. Cut squares become windows on a paper house. The cutting is the means to a creative end, which motivates children who find isolated practice boring.
Playdough Cutting
Roll playdough into snakes and let children cut them into pieces with scissors. This is a wonderful pre-paper activity because playdough provides more resistance, making the open-close motion easier to feel and control. It’s also satisfying—the clean slices through playdough are oddly delightful. Use this as a warm-up before paper cutting or as an alternative for children who get frustrated with paper.
Straw and Pasta Cutting
Cutting plastic straws or cooked spaghetti into small pieces provides a different tactile experience and is excellent snipping practice. The cut pieces can be strung onto string for necklaces or glued onto paper for art projects, adding a second activity after the cutting practice.
Setting Up a Cutting Practice Station
Having materials organized and accessible encourages independent practice.
- Store scissors in a small cup or pencil holder with blades pointing down, within the child’s reach
- Keep a folder or binder of cutting practice sheets organized by difficulty level
- Provide a small tray or bin to catch paper scraps—this contains the mess and teaches cleanup habits
- Include a glue stick and blank paper so children can create collages from their cut pieces rather than throwing them away
- Add a small recycling bin for scraps—children love sorting their waste responsibly
Place the station at a table where the child can sit with feet flat on the floor and elbows comfortably at table height. Posture affects cutting control more than most people realize—a child perched on a too-tall chair or hunched at a too-low table will struggle with scissors regardless of skill level.
Troubleshooting Common Cutting Struggles
When a child is struggling, the cause is almost always one of these fixable issues.
- “She can’t open the scissors far enough” — hand strength issue; build strength first with playdough squeezing, clothespin games, spray bottles, and hole punchers before expecting cutting success
- “He cuts off the line constantly” — likely a visual-motor integration issue; try thicker lines, higher contrast (black line on colored paper), and slowing down; have the child stop and look ahead every few cuts
- “She turns the scissors instead of the paper” — bilateral coordination issue; explicitly teach the holding hand’s job: “This hand holds and turns the paper; the scissor hand stays still and just opens and closes”
- “He gets frustrated after three cuts and quits” — the practice level is too advanced; drop back to an easier stage where success is easy and confidence can rebuild
- “She holds the scissors with her whole fist” — guide thumb into the small hole, middle finger into the large hole, and wrap the index finger along the outside of the bottom blade for stability; a small sticker on the thumb hole helps children remember which finger goes where
Cutting skills develop on their own timeline, and comparing children to each other is counterproductive. A child who struggles at four may be cutting intricate snowflakes at six. The practice sheets are there to provide opportunities—the child’s developing brain and muscles will do the rest, at exactly the pace they’re ready for.
Crafty Mama
Crafty Mama is a former elementary art teacher turned stay-at-home parent who believes every child is creative — they just need the right invitation. She develops age-appropriate activities, crafts, and projects that spark imagination while keeping mess (and parent stress) to a minimum.