DIY Playdough Recipe: Soft, Long-Lasting, and Safe
DIY Playdough Recipe: Soft, Long-Lasting, and Safe
Homemade playdough is one of those parenting wins that actually lives up to the hype. It’s softer than store-bought, cheaper to make, and you know exactly what’s in it. My kids have played with homemade playdough for years, and we’ve tested dozens of recipes to find the very best.
This is it—the recipe that creates soft, pliable, brightly colored playdough that lasts for months. Plus, I’ll share variations for different textures and special occasions.
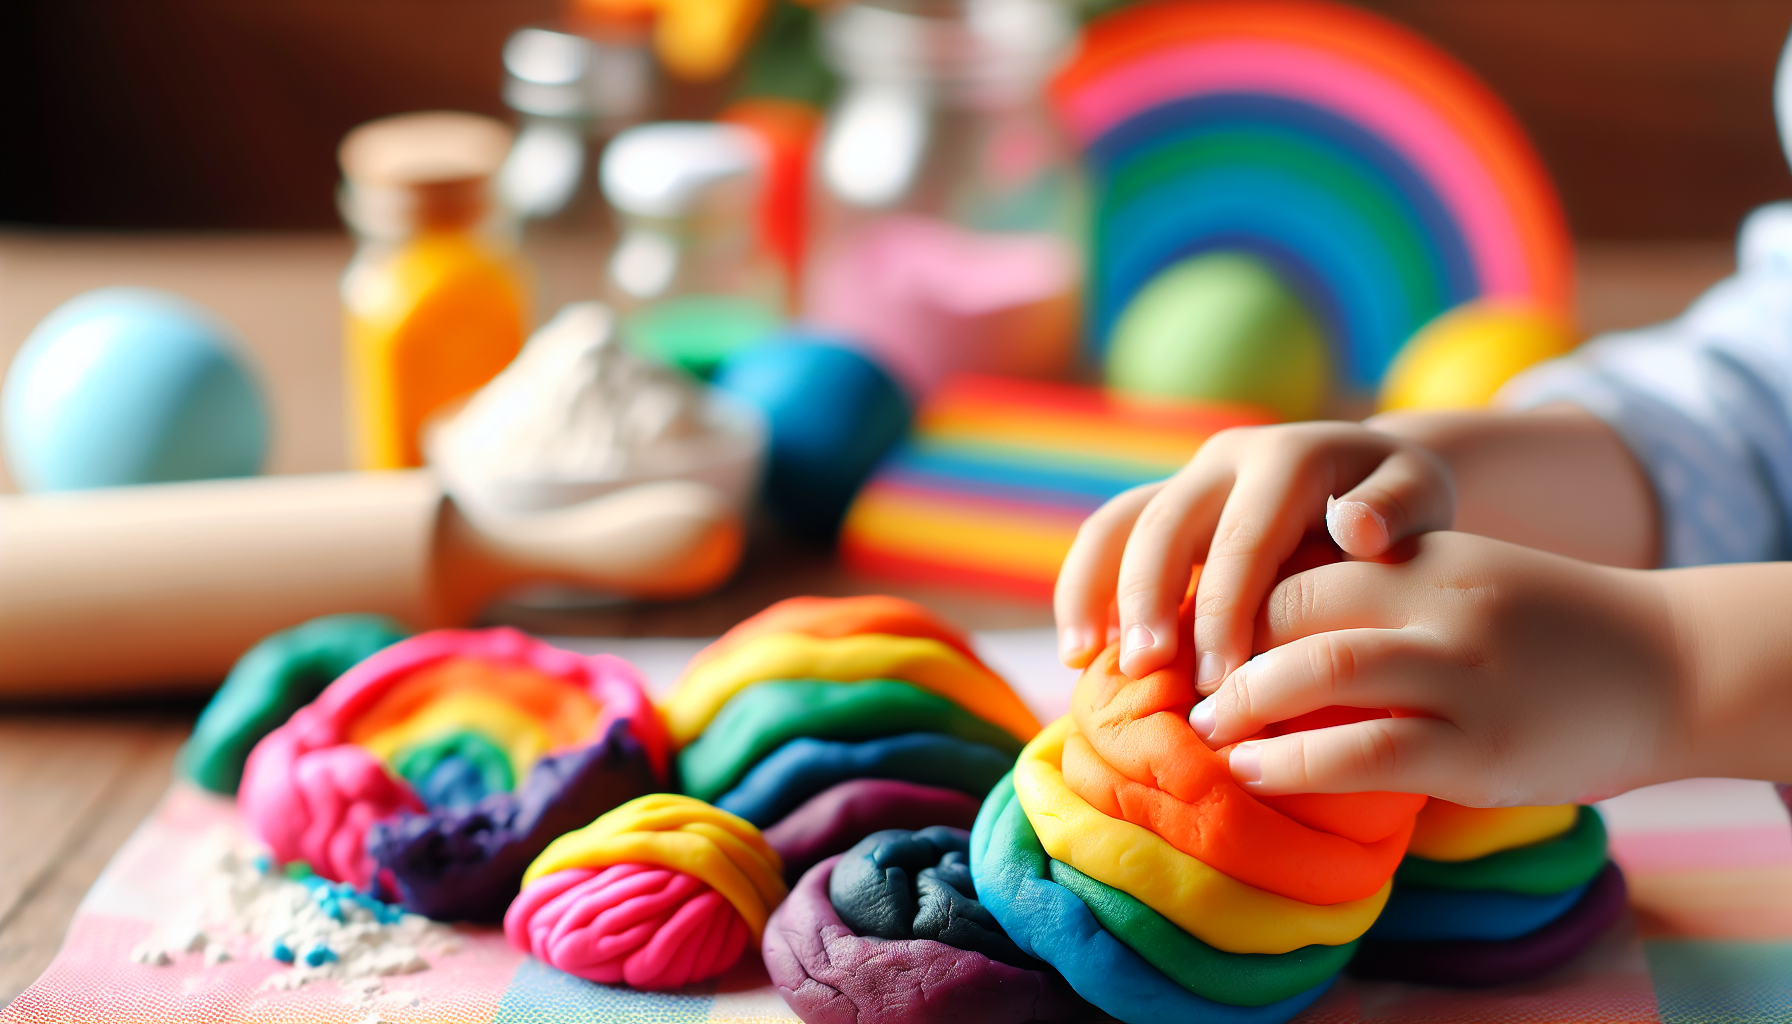
[Image placeholder: Child’s hands playing with colorful homemade playdough]
Why Make Your Own Playdough?
Softer texture: Homemade playdough is genuinely softer and easier for little hands to manipulate.
Better colors: You control the color intensity. Want neon green? No problem.
Cheaper: One batch costs pennies compared to store containers.
Customizable: Add scents, textures, or glitter to create exactly what you want.
Safer: Know every ingredient. Most recipes use kitchen pantry items.
Longer lasting: Properly stored homemade playdough outlasts commercial brands.
Fun to make together: The process of making it is an activity in itself.
The Best No-Cook Playdough Recipe
This recipe creates soft, smooth playdough in under 10 minutes with no cooking required.
Ingredients
- 2 cups all-purpose flour
- 1/2 cup salt
- 2 tablespoons cream of tartar
- 2 tablespoons vegetable oil
- 1.5 cups boiling water
- Food coloring (gel preferred)
- Optional: essential oils for scent, glitter
Instructions
Step 1: Mix dry ingredients (flour, salt, cream of tartar) in a large bowl.
Step 2: Add vegetable oil and mix.
Step 3: Add food coloring to the boiling water before adding to bowl (this distributes color evenly).
Step 4: Pour boiling water into the dry mixture. Stir immediately with a wooden spoon.
Step 5: Once cool enough to handle, knead the dough until smooth (about 2-3 minutes).
Step 6: If dough is sticky, add a little flour. If crumbly, add a tiny bit of oil.
Step 7: Let cool completely before play or storage.
[Image placeholder: Step-by-step playdough making process]
Recipe Notes
- Cream of tartar is the secret ingredient for softness and longevity—don’t skip it!
- Boiling water activates the ingredients properly
- Adult should handle the boiling water step
- Dough will continue to smooth out as it cools
Classic Cooked Playdough Recipe
If you prefer the stove-top method, this creates an incredibly smooth result.
Ingredients
- 1 cup all-purpose flour
- 1 cup water
- 1/2 cup salt
- 1 tablespoon vegetable oil
- 1 tablespoon cream of tartar
- Food coloring
Instructions
Step 1: Combine all ingredients in a saucepan.
Step 2: Cook over medium heat, stirring constantly.
Step 3: Continue stirring until dough forms a ball and pulls away from sides of pan.
Step 4: Remove from heat and let cool.
Step 5: Knead until smooth once cool enough to handle.
Benefit of cooked method: Even smoother, more elastic texture.
Taste-Safe Playdough for Babies and Toddlers
For the littlest ones who still put everything in their mouths:
Edible Playdough Recipes
Peanut Butter Playdough (not for allergies!)
- 1 cup peanut butter
- 1/2 cup honey
- 1 cup powdered milk
Mix until combined. Fully edible and tastes like a treat!
Marshmallow Playdough
- 10 large marshmallows
- 1/4 cup coconut oil
- 1 cup cornstarch
Melt marshmallows with oil in microwave. Add cornstarch and knead. Super stretchy!
Cloud Dough (taste-safe but not delicious)
- 1 cup cornstarch
- 1/2 cup conditioner
Mix until dough forms. Smells nice, safe if tasted, moldable.
Note: These taste-safe recipes don’t last as long as regular playdough. Store in refrigerator.
Playdough Variations
Glitter Playdough
Add 1-2 tablespoons of fine glitter to the dough. Use ultra-fine glitter for best results without scratchy texture.
Scented Playdough
Add essential oils or extracts after mixing:
- Peppermint: refreshing, holiday themed
- Lavender: calming sensory experience
- Lemon: bright, cheerful
- Cinnamon: fall and holiday vibes
- Vanilla: sweet comfort
Use 10-15 drops of essential oil or 1 teaspoon extract.
Glow-in-the-Dark Playdough
Add glow-in-the-dark paint to the recipe. Charge under a light, then play in dim lighting!
Two-Tone Playdough
Make two colors, don’t fully mix them, and you get a marbled effect.
Textured Playdough
Knead in:
- Rice for bumpy texture
- Sand for gritty texture
- Oats for chunky texture
[Image placeholder: Various colored and textured playdoughs arranged together]
Seasonal Playdough Ideas
Fall:
- Orange + cinnamon scent
- Brown + cloves scent
- Add fall-themed tools (leaf cutters, acorns)
Winter:
- White + silver glitter + peppermint scent
- Blue + silver glitter
- Add snowflake cutters
Spring:
- Pastel colors
- Lavender or floral scents
- Add flower cutters, butterfly molds
Summer:
- Bright rainbow colors
- Citrus scents
- Add ocean-themed tools, shell molds
Tools and Accessories for Playdough Play
From your kitchen:
- Cookie cutters
- Rolling pins
- Garlic press (makes “hair” or “noodles”)
- Potato masher
- Plastic forks and knives
- Muffin tins
Worth buying:
- Playdough tool sets
- Letter and number stamps
- Plastic scissors (for cutting practice)
- Small figurines (to press into dough)
- Shape extruders
DIY additions:
- Googly eyes
- Pipe cleaners
- Beads
- Popsicle sticks
- Buttons (for older kids)
How to Store Playdough
Best practices:
- Store in airtight containers or ziplock bags
- Push out all air before sealing
- Keep at room temperature
- Don’t refrigerate (causes condensation)
How long it lasts:
- With cream of tartar: 2-3 months
- Without cream of tartar: 1-2 weeks
- Taste-safe recipes: 1-2 weeks in fridge
Signs it’s time to replace:
- Becomes crumbly and dry
- Develops an off smell
- Changes texture significantly
- Shows signs of mold (rare if kept dry)
Troubleshooting Common Problems
Playdough is too sticky:
Add flour, a tablespoon at a time, and knead.
Playdough is too crumbly:
Add vegetable oil, a teaspoon at a time, and knead.
Colors are too pale:
Add more food coloring. Gel colors are more concentrated.
Playdough dried out:
Add a few drops of water and knead. If severely dry, it may be time to make fresh.
Colors stained hands:
Use gel food coloring instead of liquid. Colors may stain initially but fade quickly with hand washing.
[Image placeholder: Properly stored playdough in containers]
Benefits of Playdough Play
Fine motor development: Squishing, rolling, and pinching strengthen hand muscles needed for writing.
Creativity: Open-ended play allows imagination to flourish.
Sensory regulation: Many children find playdough calming and regulating.
Pre-writing skills: Rolling “snakes” and making shapes builds dexterity.
Math concepts: Comparing sizes, dividing pieces, and counting shapes.
Science concepts: Observing cause and effect, experimentation.
Language development: Describing textures, colors, and creations.
FAQ
Is homemade playdough safe if eaten?
The ingredients are food-safe but not tasty (lots of salt!). A small taste won’t hurt, but it’s not meant to be eaten. For babies who mouth everything, use the taste-safe recipes.
Why is my playdough crumbly right after making?
Usually not enough liquid. Add more water or oil and knead thoroughly. Sometimes the dough needs more kneading to fully develop.
Can I use gluten-free flour?
Yes, but texture may differ. Rice flour works best. Add more oil if needed.
How do I remove playdough from carpet?
Let it dry completely, then vacuum up the dried pieces. For residue, scrub with a stiff brush.
Conclusion
Homemade playdough is softer, cheaper, and more customizable than anything you’ll buy at the store. Once you make your first batch, you’ll never go back to the commercial stuff.
Make a batch this weekend with your kids. The process of measuring, mixing, and kneading is half the fun—and the weeks of play that follow make it well worth the 10-minute investment.
Related: Fine Motor Activities for Toddlers